Mastering Credit Card Payments Categorization in QuickBooks
For a wide range of financial and accounting needs, QuickBooks stands out as one of the most popular and efficient software options. But to truly harness its capabilities, solid comprehension of its interface and functional details is crucial. This includes being proficient with the task of categorizing credit card payments. Credit card transactions, which span across expenses, payments, and even refunds, play a significant role in business operations. Understanding how to properly record these in QuickBooks, then categorizing and reconciling them, will simplify tracking and enhance your overall financial management. Our discussion will walk you through essential steps to accurately input, categorize, and reconcile your credit card transactions in QuickBooks, as well as to generate related financial reports.
RELATED:-
Read MQuickBooks Interface
Understanding the QuickBooks Interface
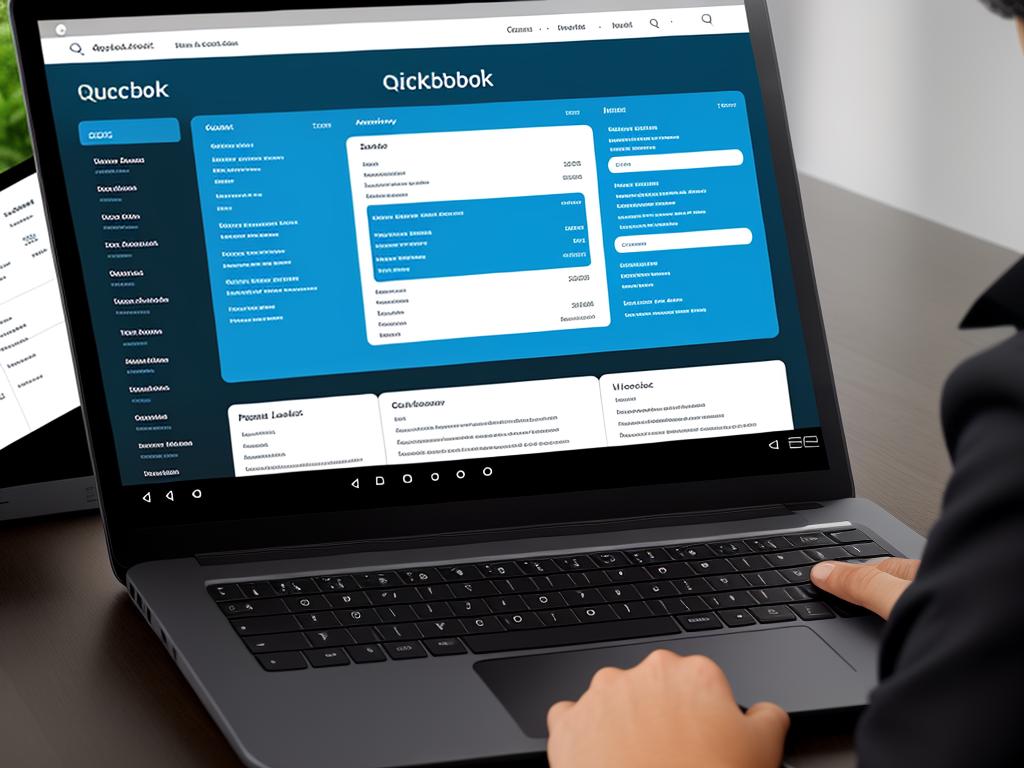
Before we delve into categorizing credit card payments, it is crucial to familiarize yourself with the QuickBooks interface. QuickBooks, an accounting software package developed and marketed by Intuit, is highly user-friendly and intuitive.
When you first open QuickBooks, you will be greeted by the Dashboard. This is the central hub of your account, showing a snapshot overview of your business’s financial status. Visible sections include “Bank Accounts,” “Sales,” “Expenses,” and more.
Navigating QuickBooks Menus and Settings
On the left sidebar, you will find a vertical menu that provides you with several tabs including “Dashboard,” “Transactions,” “Expenses,” “Sales,” “Time,” and “Reports.” Each tab comes with its own set of sub-menus to guide you through specific tasks.
The “Settings” tab, depicted as a gear icon at the top right corner of the page, is where you can manage all account settings, lists, and tools. You can add users, set up services, manage your chart of accounts, and customize form styles, among other things.
Categorizing Credit Card Payments in QuickBooks
-
Before you can categorize credit card payments, you first have to record the payment. To do this, head to the “Transactions” tab on the left sidebar and click on “Expenses”.
-
Proceed to click on the “New transaction” button on the right and from the drop-down list, select “Expense”. You should see the “New Expense” window.
-
In the “Payee” field, choose the credit card provider from the drop-down list. After that, select the payment account you’ll use to pay off the credit card debt from the “Payment account” drop-down list.
-
Enter the payment date and the payment amount. Then, in the “Category” section, select the appropriate expense category. In this case, it should be a liability account for the credit card.
-
Confirm that all details entered are correct then click “Save and close” to record the payment.
Take the time to explore additional features and tools at your disposal. The more familiar you become with QuickBooks, the easier and more efficient your financial management tasks will be.

Entering Credit Card Transactions
Introduction: Mastering Credit Card Transactions in QuickBooks
QuickBooks is a widely-used software program for managing a business’s financial operations, including credit card transactions. Whether the transactions are expenses, payments, or refunds, QuickBooks offers tools for efficient and accurate record-keeping. Learning to properly categorize these transactions will streamline your business’s financial management.
Step 1: Accessing the Credit Card Register
- Open your QuickBooks software.
- Click on the “Banking” option in the menu bar at the top of the program.
- From the drop-down list, select “Use Register.”
- From the dialog box, choose your credit card account and then click “OK.”
Step 2: Adding a New Transaction
- Click on the bottom empty row on the credit card register to create a new transaction.
- Choose the transaction type. This could be an expense, refund, or payment, depending on the transaction you are recording.
Step 3: Entering Transaction Details
- Enter the date of the transaction.
- For an expense, enter the name of the vendor in the “Pay to the Order of” field. If this is a payment or refund, enter your business name.
- Record the amount spent or refunded. If this is a payment you’ve made, record the amount in the “Payment” column. If it’s an expense or a refund, record it in the “Charge” column.
- In the “Account” column, choose an income or expense account to assign the transaction to. Ensure that you categorize it correctly to keep your records accurate.
Step 4: Saving the Transaction
- Click on the “Record” button to save the transaction and ensure it is reflected in your credit card register.
- Repeat the steps for each credit card transaction you need to record.
Recap: Tracking Credit Card Payments in QuickBooks
Effectively tracking your credit card transactions in QuickBooks aids in keeping your financial records accurate. Ensuring all transactions, including expenses, payments, and refunds, are carefully categorized is critical for insightful financial analysis. With consistent application, these steps will lead to refined business financial management.

Categorizing Credit Card Payments
Understanding QuickBooks: It’s More Than Just Payments
QuickBooks, the popular small business accounting software, offers a variety of features to help users manage their business finances. Among these, the ability to track credit card transactions and categorizing them is particularly useful. It aids in keeping accurate records and making smart financial decisions.
Step 1: Open The Transaction
To begin, open the transaction that you wish to categorize. This can be done by clicking on the specific transaction from your list of recent activities. If you’ve recently added this transaction, it should appear near the top of the list.
Step 2: Select The Appropriate Category
Once the transaction is open, you’ll see a field labeled as “Category or Match.” Here, you can select the appropriate category for the transaction. QuickBooks provides numerous predefined categories that broadly cover the most common types of expenses and income.
Step 3: Save The Transaction
After selecting the appropriate category for your credit card payment, remember to save the transaction. This can be done by clicking the “Save” button (checkmark icon) at the bottom of the transaction detail window.
Creating New Categories: When Existing Ones Don’t Cut It
There may be occasions where none of the existing categories are suitable for a particular transaction. In such cases, QuickBooks allows you to create a new category.
Step 1: Access Chart of Accounts
To start, access the “Chart of Accounts” page from the “Accounting” tab on the left-hand navigation bar.
Step 2: Add New Account
Click the green “New” button at the top-right of the page. This opens an account setup window, giving you the option to add a new account to your chart of accounts.
Step 3: Specify Account Details
Specify the account details, such as the account type, detail type, name, and description. Ensure that the account type aligns with the nature of the transactions you plan to categorize under this new account.
Step 4: Save The New Account
After entering the required details, click “Save and Close” to add the new account to your chart of accounts.
Understanding how to categorize credit card payments in QuickBooks goes a long way in ensuring you maintain an accurate and streamlined record of your business expenses. This paves the way for an efficiently managed business.

Reconciling and Reporting
Introduction: Make Sense of Your Credit Card Payments in QuickBooks
Credit card transactions form a major part of the everyday expenses of any business, small or large. Managing them efficiently can help in maintaining a clean and accurate financial state in your company. QuickBooks is a robust tool that can help you do just this. In this guide, you will learn step by step how to reconcile your credit card transactions with your bank statements and generate financial reports related to these transactions in QuickBooks.
Step 1: Reconciling Credit Card Payments in QuickBooks
Reconciling your credit card payments involves matching the transactions recorded in QuickBooks with your actual bank transactions. This process helps ensure that all transactions have been accurately recorded.
- Open QuickBooks and go to the ‘Banking’ or ‘Transactions’ menu.
- Choose ‘Reconcile’ from the drop-down list.
- Select the credit card account you want to reconcile.
- Enter the statement end date and ending balance that match your credit card statement.
- Select ‘Start reconciling’.
- You will see a list of transactions. Compare these transactions with your credit card statement. For any transaction on the statement that matches a transaction in QuickBooks, check the box next to the transaction in QuickBooks.
- Once all the transactions have been matched, check if the difference (displayed at the bottom right of the screen) is zero. If it is, you have successfully reconciled the credit card accounts. If not, review the transactions.
- After completing the reconciliation, select ‘Finish Now’ or ‘Finish Later’, depending on whether you want to complete the process at once or save it to continue later.
Step 2: Reporting Credit Card Payments in QuickBooks
QuickBooks not only acts as a transaction recorder but also as a financial analyzing tool. Here are the steps for generating and interpreting financial reports related to credit card payments:
- Open QuickBooks and go to the ‘Reports’ menu.
- Select ‘Standard Reports’.
- Click on ‘Expenses and Vendors’.
- Choose ‘Expenses by Supplier Summary’. This report gives an overview of your total payments to each supplier.
- To view detailed transactions for each supplier, click on the amount in the report. An ‘Expenses by Supplier Detail’ report will be displayed, where you can see each transaction you made to the specific supplier.
- You can also run a ‘Transaction List by Supplier’ report to get a consolidated view of all transactions made to a supplier.
- Click on ‘Customize Report’ to modify the display of the report as per your requirements.
QuickBooks offers a range of other financial reports to help you understand your business’s financial health. Regularly analyzing these reports can empower you to make informed business decisions. Whether you are reconciling your credit card payments or generating financial reports, QuickBooks is a one-stop solution for all your financial tracking needs.

Mastering the skill of categorizing credit card payments in QuickBooks is a valuable asset for any business. Not only does it streamline the financial management process, but it also paves the way for clearer financial insights and strategic planning. As we’ve outlined, the journey starts from becoming familiar with the QuickBooks interface to recording transactions, categorizing payments, and finally, reconciling them with precision. Remember, the real power of QuickBooks lies in its user-friendly design and its comprehensive financial reporting ability. So go ahead, use these guidelines to categorize your credit card payments effectively and explore the benefits of a well-managed financial system.
Writio: The AI writer revolutionizing web content. This post was crafted by Writio.